
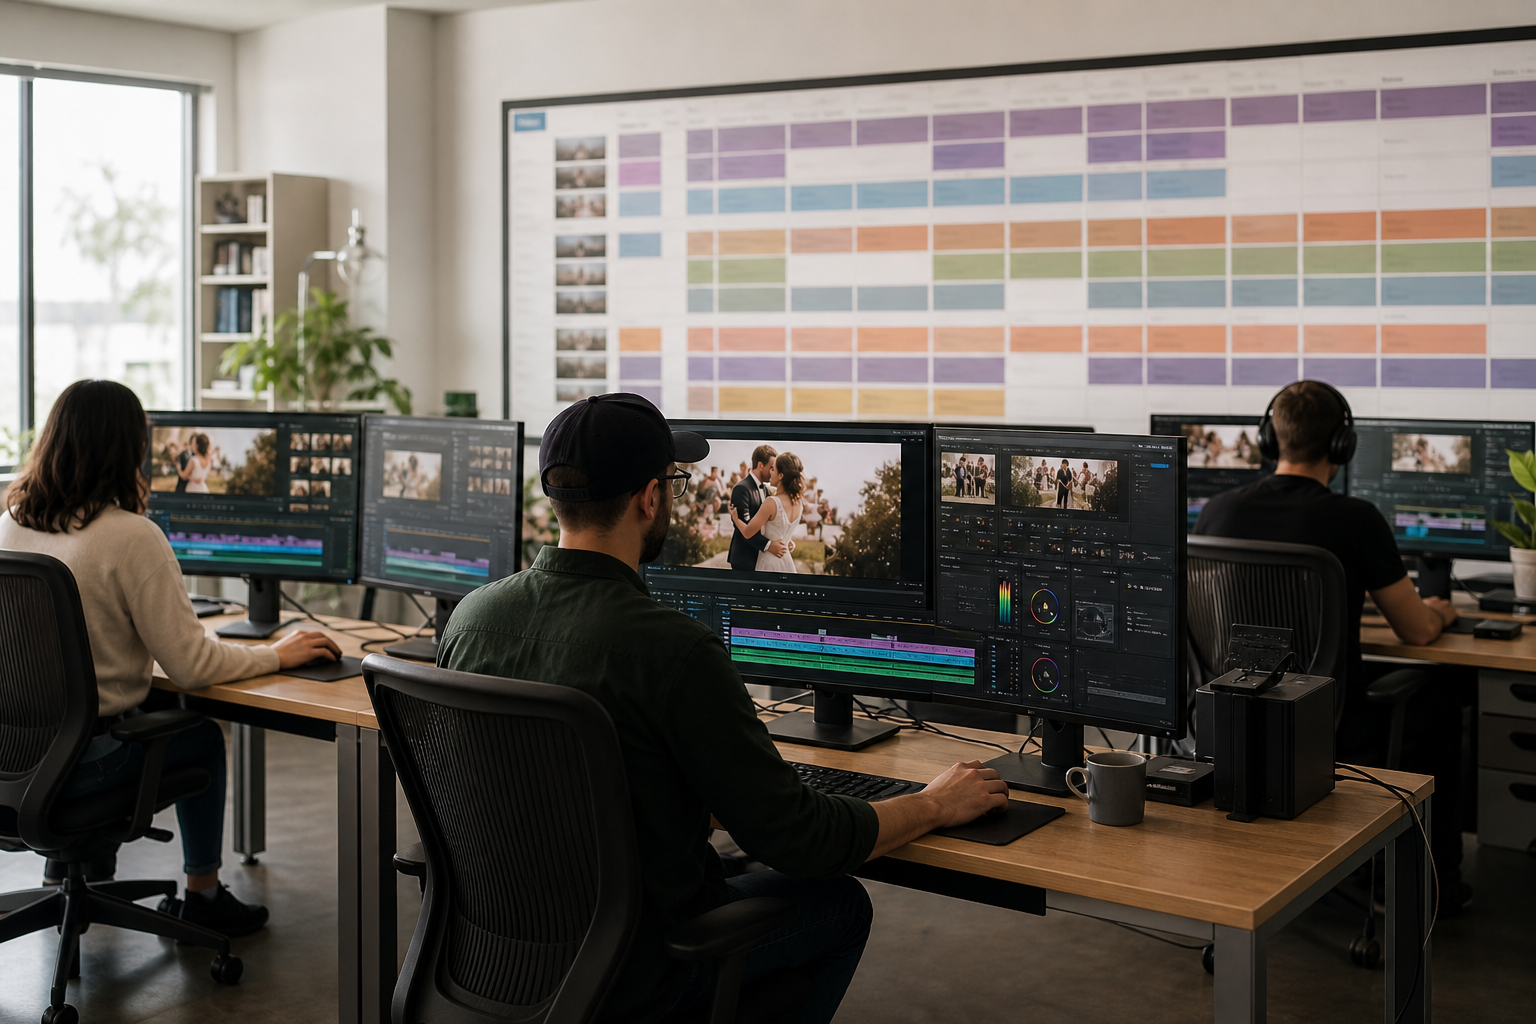
A documented wedding video editing workflow turns post-production from a collection of personal habits into a system the studio can measure, delegate and improve. It protects footage, preserves style and makes deadlines visible.
Stage 1: secure and organize media
Create verified copies before editing begins. Use a consistent folder structure for cameras, audio, music, graphics, project files and exports. Record missing media immediately rather than discovering it during the final review.
Stage 2: prepare the project
Generate proxies when needed, synchronize cameras and external audio, label important moments and import the studio’s current templates. A clean preparation stage allows creative editors to spend time on story instead of detective work.
Stage 3: build story and sound
Start with the emotional spine: vows, speeches, letters and natural moments. Choose music according to licensing and brand fit. Shape pacing before investing heavily in transitions or detailed grading.
Stage 4: color, audio and internal review
Match cameras, correct exposure, clean dialogue and check music levels on more than one listening system. Use a repeatable quality-control checklist before the film reaches the couple.
Stage 5: revisions and delivery
Collect consolidated feedback from one decision-maker, confirm the scope of each revision round and version files clearly. Archive the final project and delivery master according to the studio’s retention policy.
Put the system into practice
Start with one real project, document the result and improve the workflow before expanding it across the season. For more context, read the complete guide to outsourcing wedding video editing and how high-volume studios scale without losing control.
Need dependable editing capacity?
Test EditValue with one real wedding reel and see how the team handles your footage, style and feedback before assigning a larger queue. Request your free wedding reel.